Hosting your own Images and using the HTML Editor
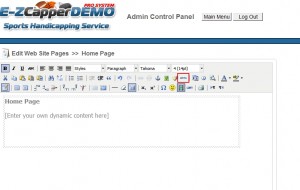
 I get a lot of questions asking how to add an image to the body content. The first thing you must know is that to do this you must access the html editor. You access it by clicking on the HTML button (click on the image below). In the html code you must link the image you want to where you are hosting it. There are plenty of places which do free image hosting. A quick search on Google shows the following services that host images for free:
- http://imageshack.us/
- http://tinypic.com/
Step 1. Once you upload your image to these services you will obtain a URL where you will use in your HTML code. Once you reference this image in the html code via your html editor, your body text will show the image.
There are two options to get this image into your page:
Basic Users: Use the Image Editor
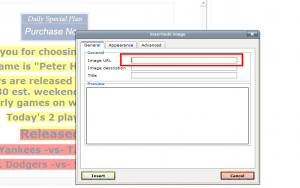
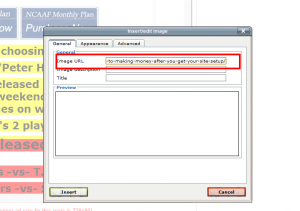
- Step 2 – Select the Insert Image button and paste the url from Step 1 into the Image URL box. The other two boxes are optional. After inserting it, save the page and the image should show.
Adding a link
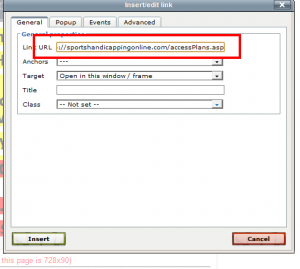
- If you want to add a hyperlink to the image simply select the image link button and it copy and paste the URL (e.g. http://www.google.com) to the page you want to link to.
Advanced users: Use the HTML Editor
- Step 2. Take the url of the image and insert it into the HTML Code. If you don’t know HTML you can browse the net for more details. It’s very easy to use and many programs like Microsoft Word will automatically convert it for you. For a very basic primer refer to: http://www.w3.org/MarkUp/Guide/


